Tutorial reference
Use Case
mitmproxy is a powerful man-in-the-middle proxy tool that lets you intercept, view, and modify traffic between clients and servers. Its transparent proxy mode makes mitmproxy extremely useful in specific scenarios, especially when network traffic needs to be analyzed or tested without changing any settings on the target device.
- No proxy configuration needed: Unlike Burp Suite, mitmproxy in transparent mode does not require manually setting an HTTP or HTTPS proxy on the target machine. This means the end user or test subject will not notice the proxy’s presence, reducing the chance of human intervention.
- Certificate installation: Although no proxy configuration is required in transparent mode, to intercept and decrypt HTTPS traffic you still need to install mitmproxy’s root certificate on the target machine. This is similar to Burp Suite, since both must handle the SSL/TLS handshake to view encrypted traffic.
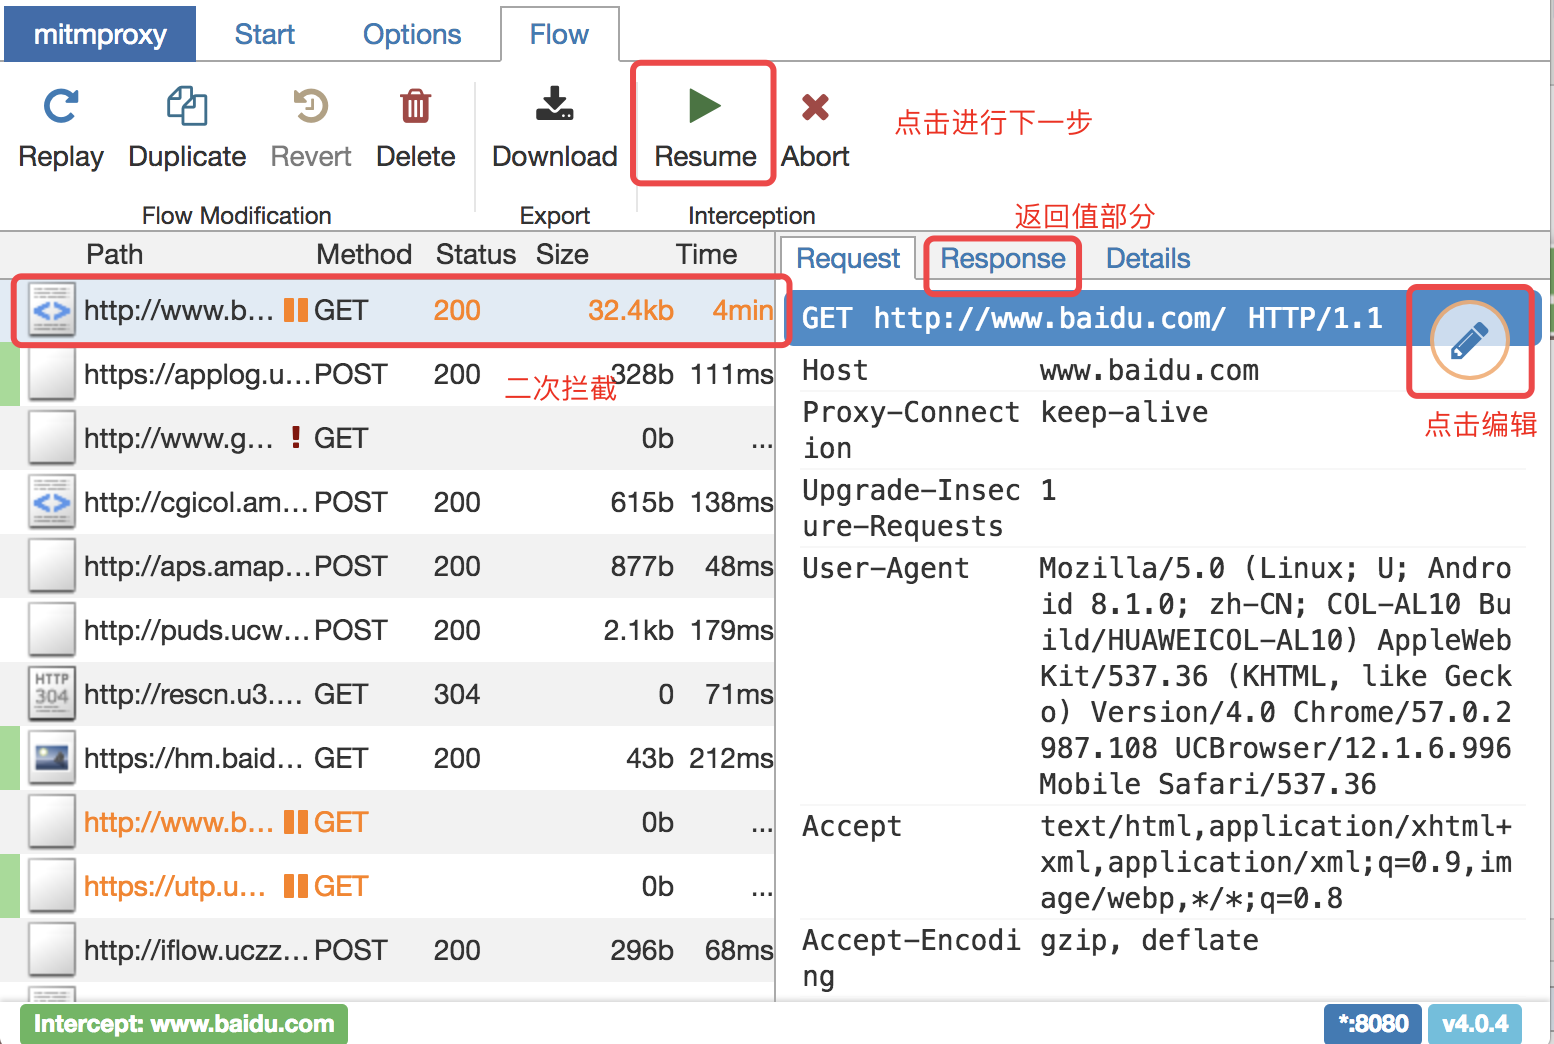
- Via MitmWeb, you can view captured packets locally; in terms of usage it is not much different from Burp.
Common Commands
Replace resources
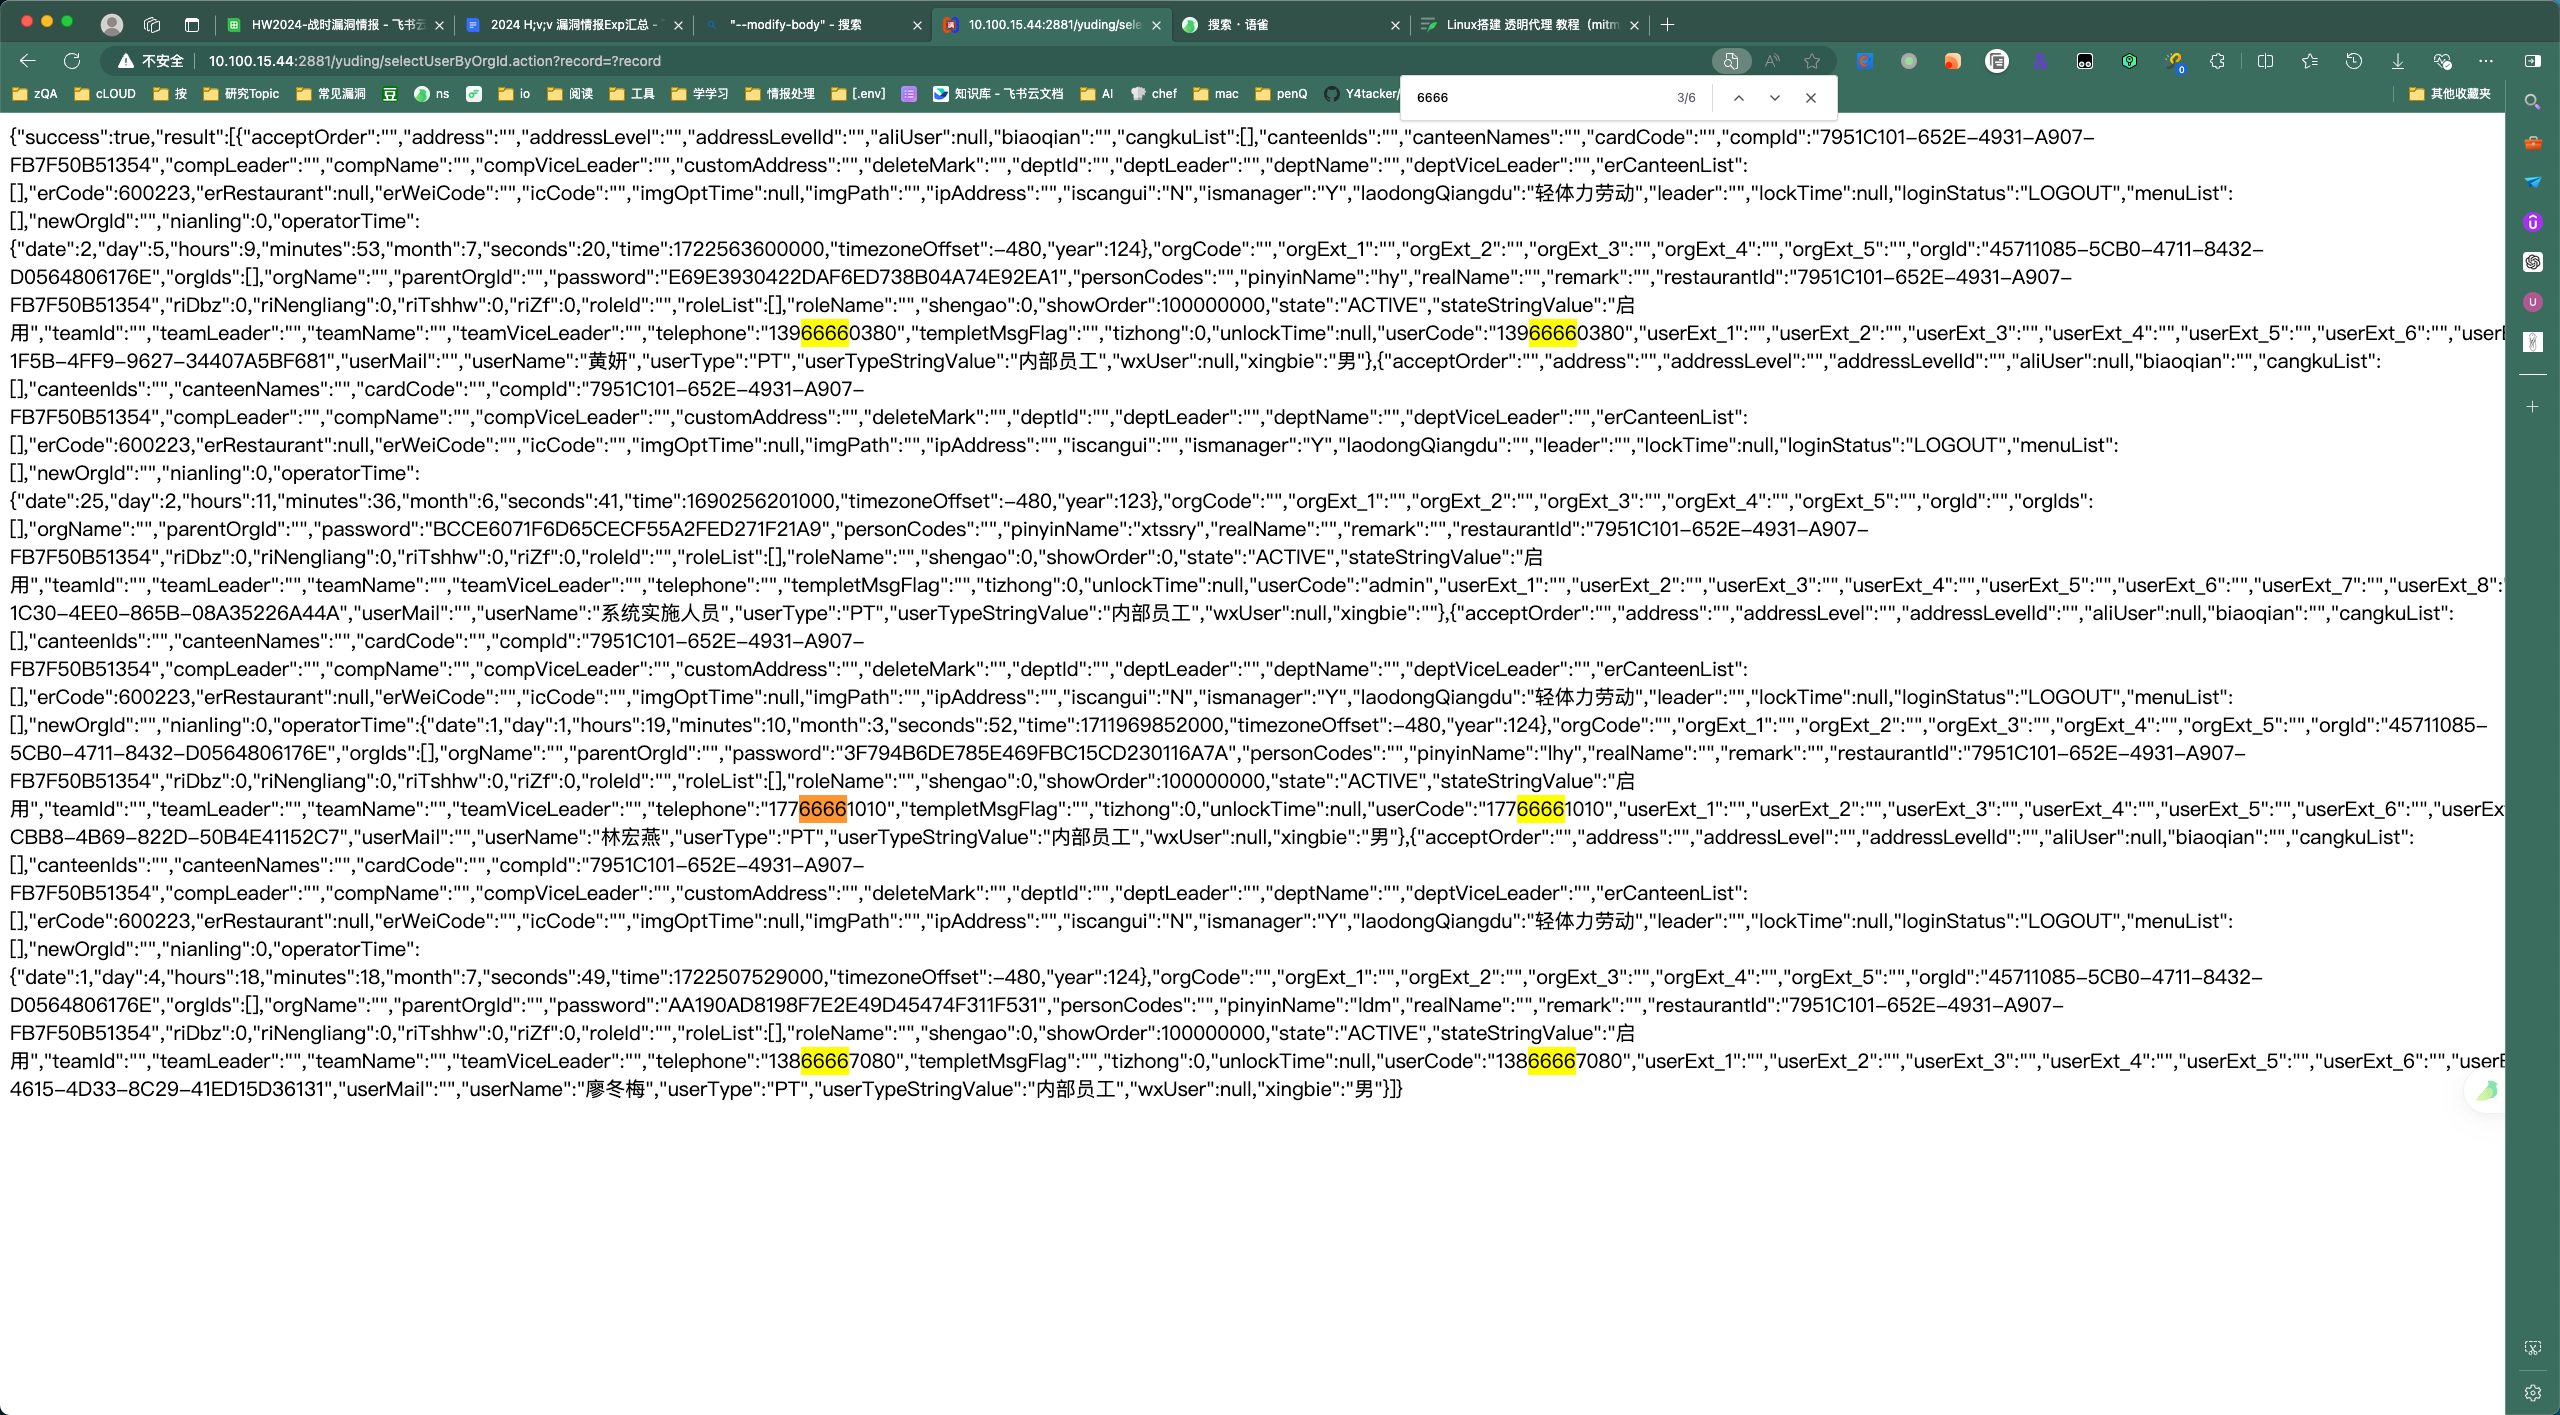
mitmproxy --mode reverse:http://xxxx:8888/ -p 8888 -k --map-remote "|https://xxxx:9201|- http://10.100.15.44:8888
Replace the body
mitmproxy --mode reverse:http://xxxx:2881/ -p 2881 -k \
 --modify-body '/13883797080/13866667080' \
 --modify-body '/17784081010/17766661010' \
  --modify-body '/13983240380/13966660380'
Gateway Machine
kali
192.168.1.12
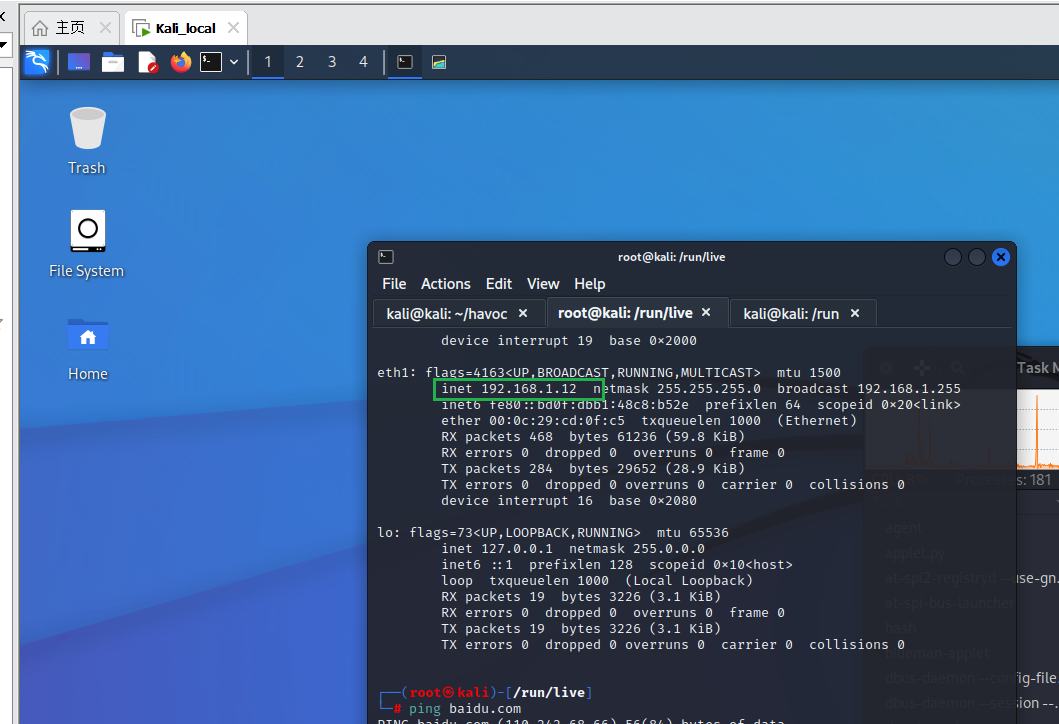
Network Configuration
Kernel Forwarding
# Enable kernel routing forwarding
sysctl -w net.ipv4.ip_forward=1
Using any of the above methods will not make the change persistent. To ensure the new setting survives a reboot, you need to edit the /etc/sysctl.conf file.
vim /etc/sysctl.conf
Add one of the following lines to the bottom of the file, depending on whether you want to turn Linux IP forwarding off or on. Then, save the changes to this file. The setting will be permanent across reboots.
net.ipv4.ip_forward = 0
OR
net.ipv4.ip_forward = 1
After editing the file, you can run the following command to apply the changes immediately.
sysctl -p
iptables Forwarding
Only forward traffic on ports 80/443
# Redirect all TCP traffic arriving on ports 80 and 443 to mitmproxy's port (assuming mitmproxy runs on port 8080)
sudo iptables -t nat -A PREROUTING -i eth1 -p tcp --dport 80 -j REDIRECT --to-port 8080
sudo iptables -t nat -A PREROUTING -i eth1 -p tcp --dport 443 -j REDIRECT --to-port 8080
Forward traffic from a specific IP
iptables -t nat -A PREROUTING -i eth1 -p tcp -s 192.168.1.112 -j REDIRECT --to-port 8080
check iptables rules — confirm the rules
iptables -t nat -L -n -v=
mitm Recording
mitmweb -p 8080 --listen-host 0.0.0.0 --web-port 88 --web-host 0.0.0.0 --mode transparent --showhost
- Via “file” in the top-left corner of the web UI, you can save the capture as a flows file for later use
mitm server-side replay
Simulate a server side and replay the requests just captured
Another powerful feature of mitmproxy is replaying previous traffic. It supports server-side replay: mitmproxy replays the server responses for requests that match earlier recorded requests.
The <font style="color:rgb(74, 74, 74);">--server-replay</font> option lets us replay server responses from a saved HTTP conversation.
- To do this, we use a set of heuristics to match incoming requests against the saved responses.
- By default, when matching incoming requests against responses in the replay file, we exclude the request headers and match only on theURL and the request method, which works in most cases and allows replaying server responses when request headers naturally vary, for example with different user agents.
itmweb -p 8080 --listen-host 0.0.0.0  --web-port 88 --web-host 0.0.0.0 --mode transparent --showhost \
--server-replay-refresh \
--server-replay-nopop \
--server-replay-kill-extra \
--set server_replay_ignore_content=true \
--server-replay ./PrivateServer-Mock-2.flows
Option explanation
Server Replay:
| -server-replay PATH, -S PATH | Replay server responses from a saved file. Can be passed multiple times. |
|---|---|
| ** –server-replay-kill-extra** ** –no-server-replay-kill-extra** | During replay, if no replayable response is found, kill the extra requests |
| ** –server-replay-nopop** –no-server-replay-nopop | After replaying a response, do not remove that flow from the server; enable this if you need to replay the same response multiple times. The meaning of this pair of options is a bit convoluted — a double negative. |
| ** –server-replay-refresh** –no-server-replay-refresh | During replay, automatically adjust the date, expires, and last-modified headers in the response, and adjust cookie expiration times |
| –set server_replay_ignore_content=true | Sets server_replay_ignore_content, which stops the body from being used as the basis for replay matching — only the HTTP method + URL are consideredAfterword: how did I find out this option exists? + `mitmweb –options |
Target Device
Install the Certificate
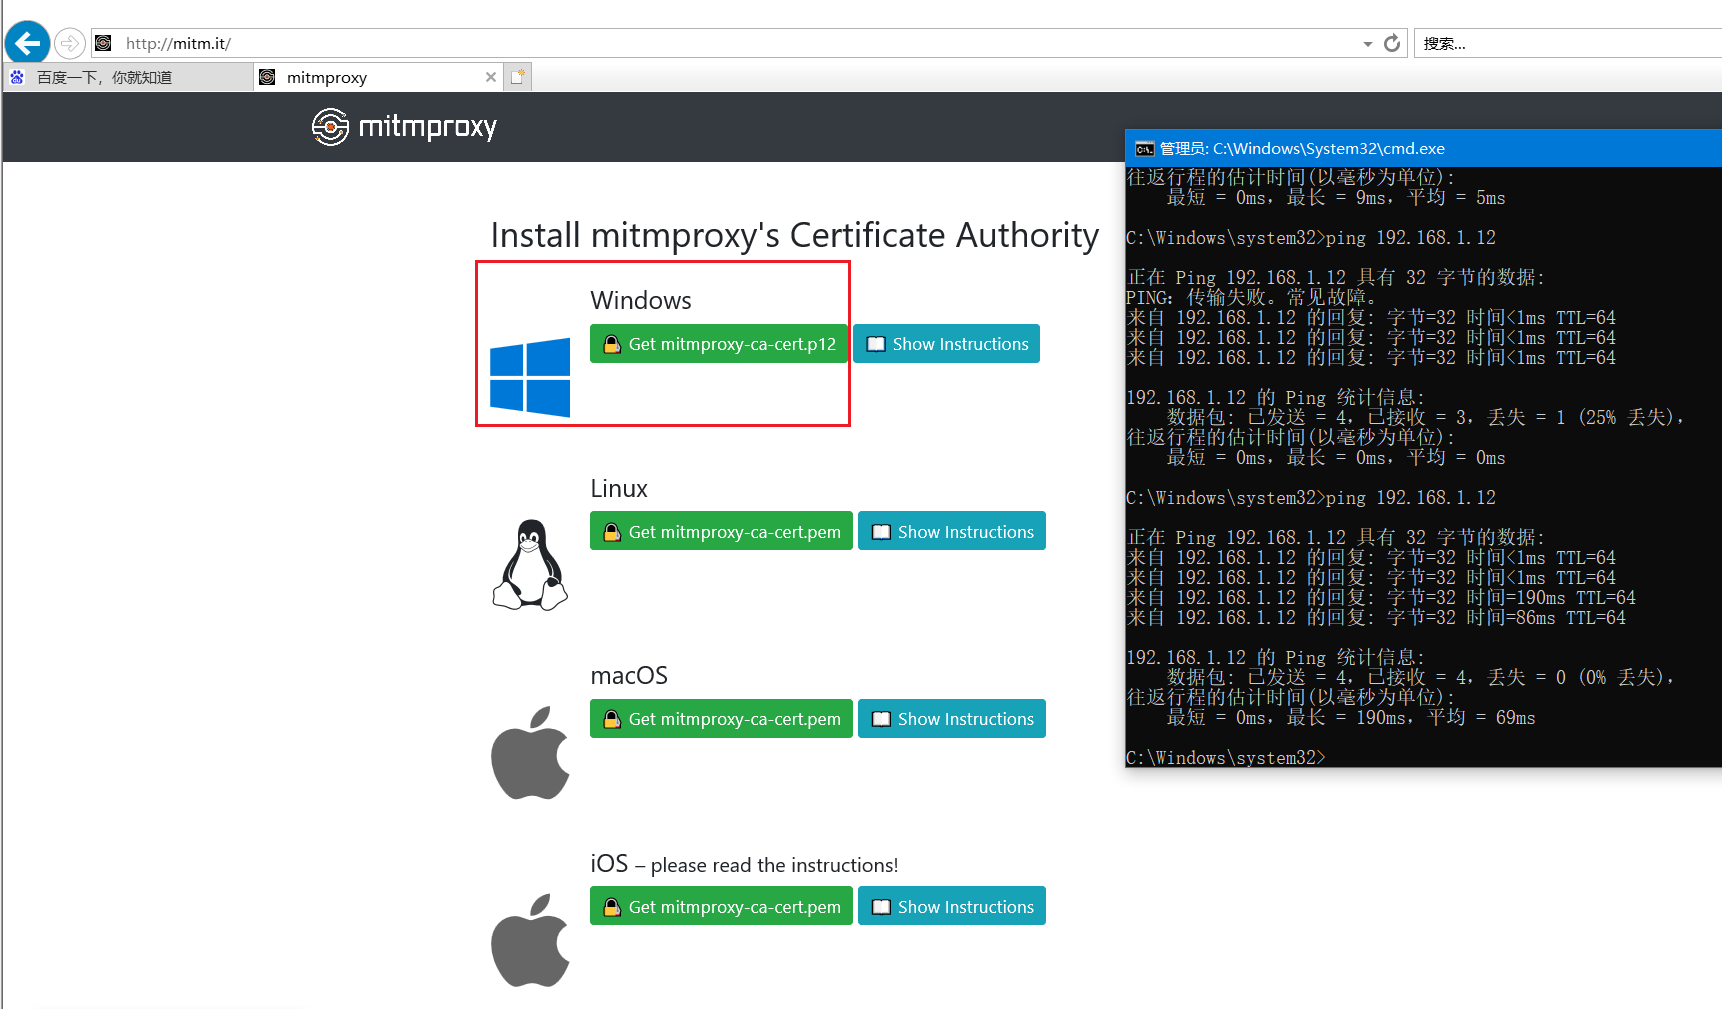
On the device whose traffic you want to capture, configure the gateway, then visit http://mitm.it/ to install the certificate file and trust it
- Change the default gateway:
Open “Network and Sharing Center”.
Click “Change adapter settings”.
Right-click the network adapter you are using and select “Properties”.
Double-click “Internet Protocol Version 4 (TCP/IPv4)”.
Select “Use the following IP address” and fill in the corresponding IP information. In the “Default gateway” field, enter the IP address of your Kali Linux machine.
- Install the mitmproxy certificate:
Obtain the root certificate from mitmproxy. Usually you can visit http://mitm.it to download the certificate.
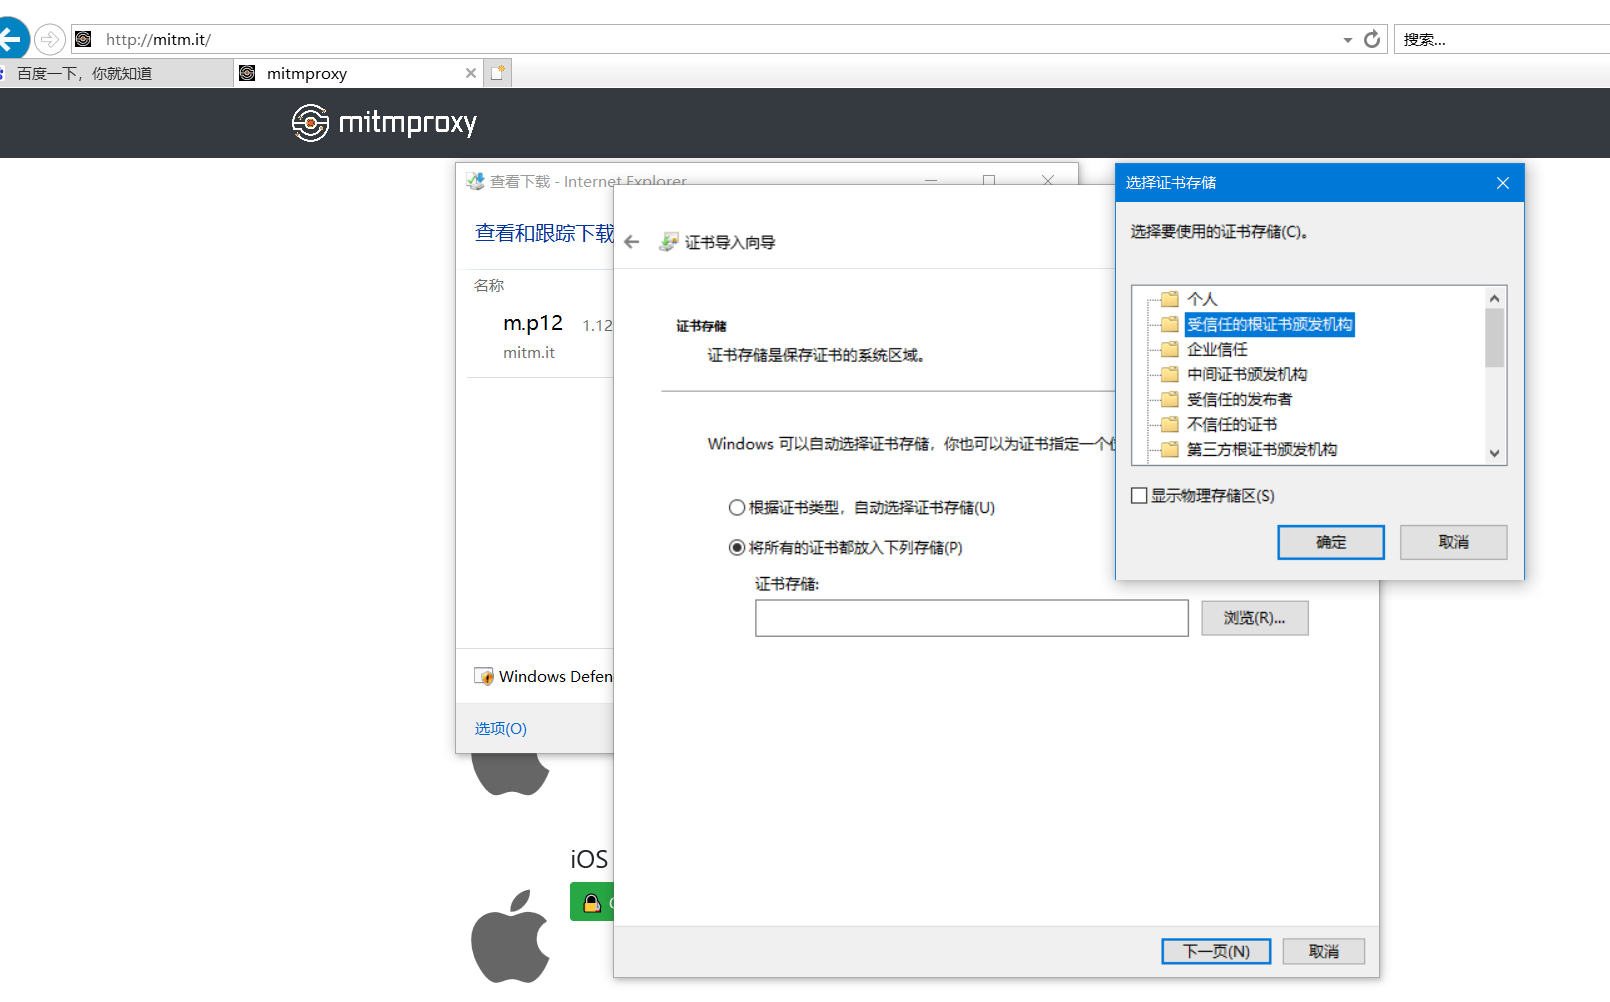
Install the certificate on Windows: double-click the certificate file, select “Install Certificate”, and follow the prompts to install it.
After completing the steps above, all HTTP and HTTPS traffic on your Windows machine will be forwarded and analyzed through mitmproxy on the Kali Linux machine. Remember to restore the Windows network settings to their original state once you finish capture and analysis.